Youtube is the most dominating video streaming platform currently. The working procedure of Youtube is not very complicated. To sum it up in short, whenever you’re watching a video, you get to see a few different options such as Like, Dislike and Subscribe.
If you like a video, you can click the ‘Like’ button and there would be one more addition to the like count. Similarly, if you dislike a video, you can click on the ‘Dislike’ button. Now, the option which confuses most Youtube users as to what it does is the “Subscribe” option.
[toc]
What is the YouTube Subscribe Button?

What the Subscribe button does is that whenever you click on it, you start following that particular channel and the channel gains a subscriber. Thereafter every single time the channel uploads a new video, it appears on your Youtube feed. The ‘Subscribe’ button is very useful from the perspective of both the user and the uploader.
If you have a channel on Youtube then you may already be familiar with the concept of the ‘Subscribe’ button and how useful it is to grow and keep track of your fanbase.
Did you know that you can use your blog to drive traffic to your Youtube Channel? Yes, it is possible and the best bit about this method is that you will be able to drive targeted traffic to your channel and increase subscribers.
Unlike other methods, this won’t take up much of your time and is really easy to apply. All you’ve got to do is add a subscribe button to your blog and if your wordpress blog has high traffic then you can use that to your advantage and get more subscribers on your Youtube Channel.
In this post, I am going to discuss How to Add YouTube subscribe Button to Website or WordPress blog.
Steps to add YouTube Subscribe Button on WordPress Blog
Adding a “Subscribe” button to your WordPress website follows simple methods which anyone regardless of their coding knowledge can perform. There are 2 simple methods of adding a Subscribe button to a blog on a blogging platform such as WordPress.
One involves manually designing the Subscribe button from YouTube henceforth generating its code from there and applying it to the WordPress website. The other is the easier one.
This involves applying a direct WordPress plugin to the website and involves no kind of coding knowledge provided that the user knows what WordPress plugins are and how to apply them.
Below is the concrete demonstration of both the methods.
-
Manually generating the Subscribe Button code and applying it on the WordPress website
The word “manually” makes this method look tough but as we go through ahead, you’d realize that this is really simple to apply.
- Step 1: To generate the button code, open https://www.developers.google.com/youtube/youtube subscribe button from your browser.
- Step 2: Login to the Gmail account connected to your YouTube channel if you aren’t already.
- Step 3: Now, you will be asked to “Configure” your Subscribe button. The information asked on the web page is as follows:
- Channel ID or name (Must not have any errors while filling)
- Layout wanted
- Theme wanted
- The option to show the number of subscribers along with the Subscribe button.
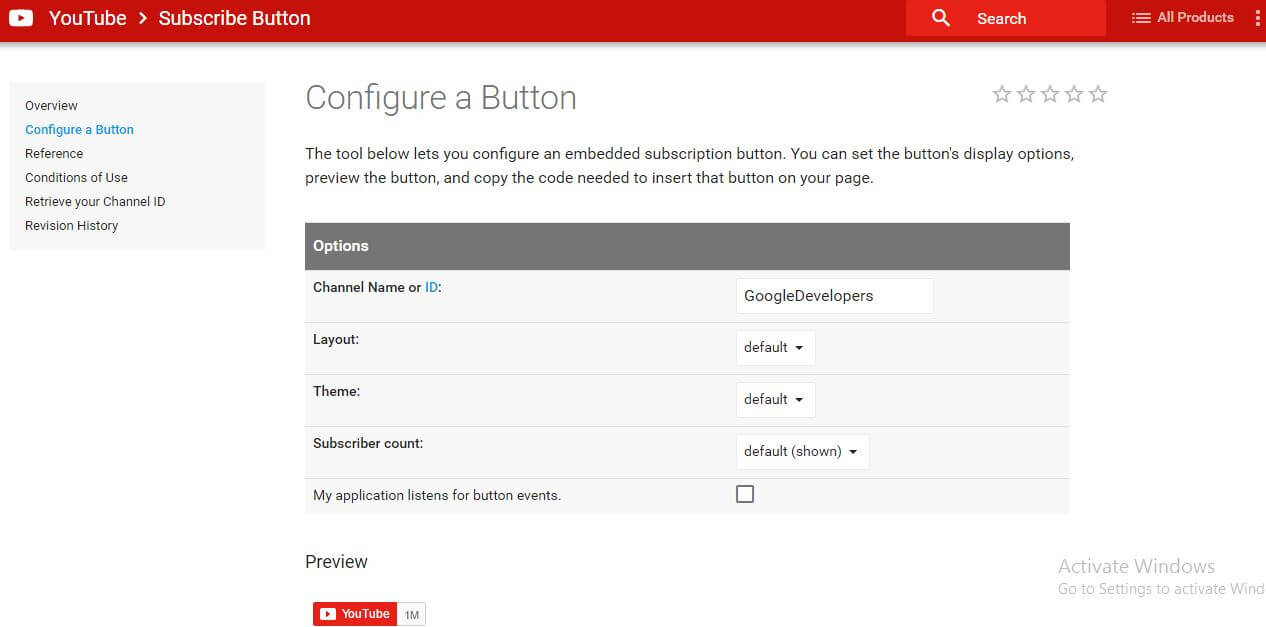
- Step 4: Now, a code will be generated on the webpage below. Copy the code.
- Step 5: Open and login to the administrator’s zone on your WordPress website and find the “Appearances” tab. Click on it and find the “Widgets” menu.
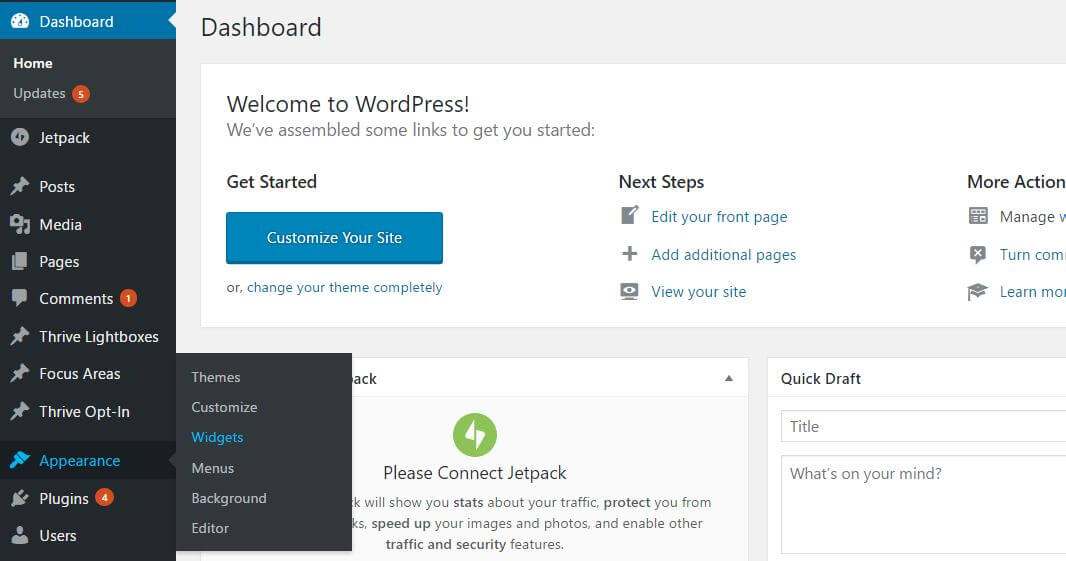
- Step 6: Once you’re in the Widgets menu, drag and drop a text field to the desired area.
- Step 7: Open the coding area of the text field and paste the Subscribe button code you’ve generated above. The button is now added.
-
Adding Subscribe Button by using a WordPress Plugin
This is the easiest of the two methods as it can be added directly using a WordPress plugin. This saves a lot of time of the user as it does not require a manual generation of the Subscribe button code. Here is the stepwise demonstration on how it’s done.
- Step 1: To add a Subscribe button on a WordPress website, one needs to download and install the “YouTube Subscribe Button” plugin from the WordPress website. Here is the direct link to download the plugin: https://www.wordpress.org/plugins/youtube-subscribe-button/.
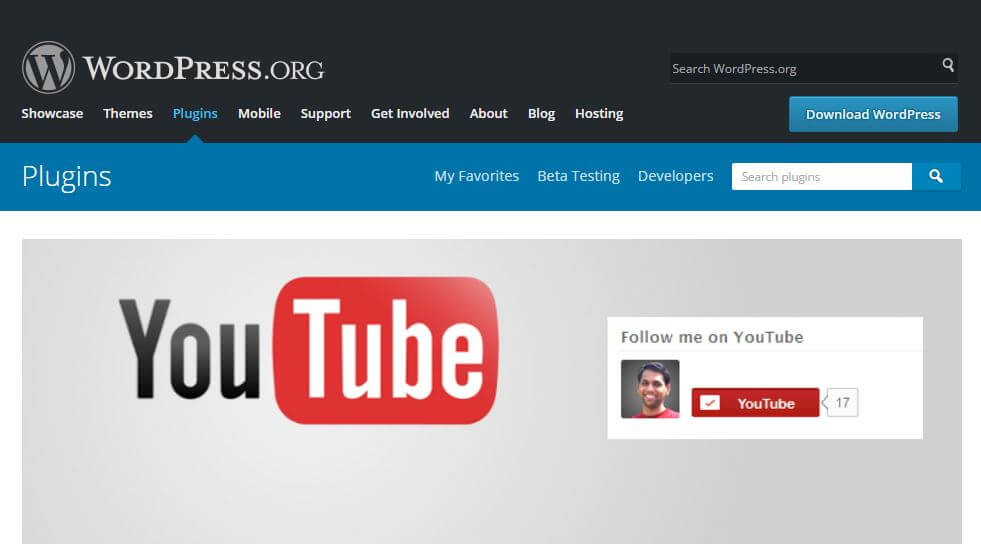
- Step 2: Once the plugin is installed, you again have to open the “Appearances” tab and henceforth open the “Widgets” menu to apply it.
- Step 3: You will now see a “YouTube Subscribe Button” widget in the Widgets menu. Drag and drop it to the desired sidebar.
- Step 4: This widget, instead of being a text field and requiring a generated or applied code shows the user the same official YouTube subscribe button on the website design. Hence, the user does not have to go to the Google developers website to fill in his button description, rather, can do it on the WordPress website via the plugin.
- Step 5: Fill in the channel details asked by the widget and the widget should now act as a Subscribe button on your WordPress website.
Final Verdict
Adding a Youtube Subscribe Button to a WordPress website can turn out to be very valuable for a blogger. It helps a blogger enlarge their social media connections and smoothen their blogging journey. Both the methods also do not juice up a lot of time; in fact, they can be done in a matter of minutes. The plugin method though hasn’t been updated for over 2 years now, is still compatible for higher versions of WordPress which is fantastic.
Although, on the other hand for spammers and wannabe hackers this is useless because YouTube has set a tight amount of terms and conditions like the inability to manipulate subscribe button clicks, the inability to track data of user’s clicking the Subscribe button.
Also Read: Ultimate List of YouTube Channel Ideas
Do comment below if you are familiar with any alternative methods to add Youtube Subscribe Button to a blog. Also, share how your experience in blogging has helped you in your Youtube Journey.


3 Responses
Easy and simple way to add YouTube subscribe button. Thank you so much for sharing this valuable post.
Great post! i have added subscribe button on my wordpress blog thanks
Great post. I was looking to add subscribe button in my website. Thanks! 🙂
Comments are closed.